How to setup Oh My Posh in Windows Terminal & Make Your Terminal Awesome
Hello guys…
In this blog, we’re going to see how to install and configure Window Terminal (PowerShell) with Oh My Posh.
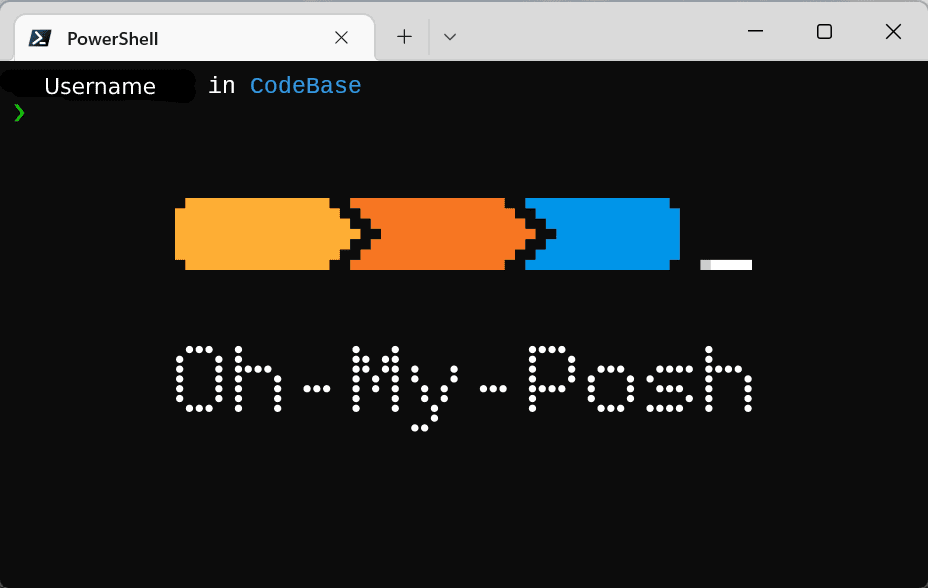
Table of Contents
What is Windows Terminal?
It’s an emulator developed by Microsoft. We can use multiple tabs in Windows Terminal like our browser.
Basically, you can use any shell supported by Windows Terminal like PowerShell, Command Prompt, Azure Cloud Shell, Git Bash, WSL and etc.
What is Oh-My-Posh?
Basically, it is a custom prompt for any shell like bash, cmd, PowerShell and etc. It has a lot of themes and is used by many developers (including me)
It has some cool features like showing your CPU – RAM status and your Git things.
Steps:
First, go to your windows store and download Windows Terminal.

If you’re going to use PowerShell I recommend to use the latest version of PowerShell. Simply you can download that too from Microsoft Store.
Once done you can open your Windows Terminal and it’ll be like the below (with usual PowerShell)

Also, you can set any shell on the start-up of the Windows Terminal. Even you can run any shell with administrator privileges on start-up. For those options just open the terminal settings and configure those for the shell you’re going to use.
Setup Oh My Posh in Windows Terminal
Now we’re going to install Oh-My-Posh.
I’m going to get this for my new PowerShell which is downloaded from the Microsoft store.
You can get this via Winget, Scoop, or manually. Basically, Winget and Scoop are package managers. If you don’t understand those things just go manually : )
To get Oh-My-Posh run this below command in your PowerShell (In PowerShell only)
For Winget use this,
winget install JanDeDobbeleer.OhMyPosh -s wingetFor Scoop use this,
scoop install https://github.com/JanDeDobbeleer/oh-my-posh/releases/latest/download/oh-my-posh.jsonTo continue manually use this ( I used this : ) )
Set-ExecutionPolicy Bypass -Scope Process -Force; Invoke-Expression ((New-Object System.Net.WebClient).DownloadString('https://ohmyposh.dev/install.ps1'))
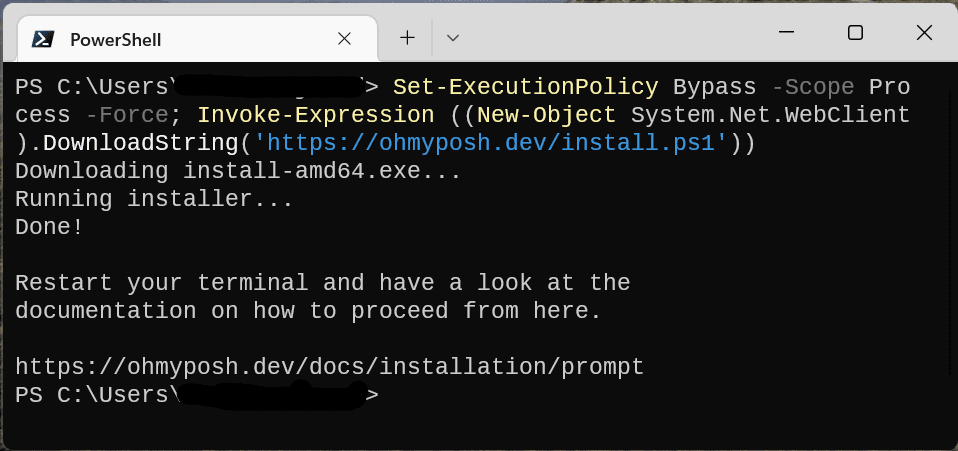
Close your Windows Terminal and open it again.
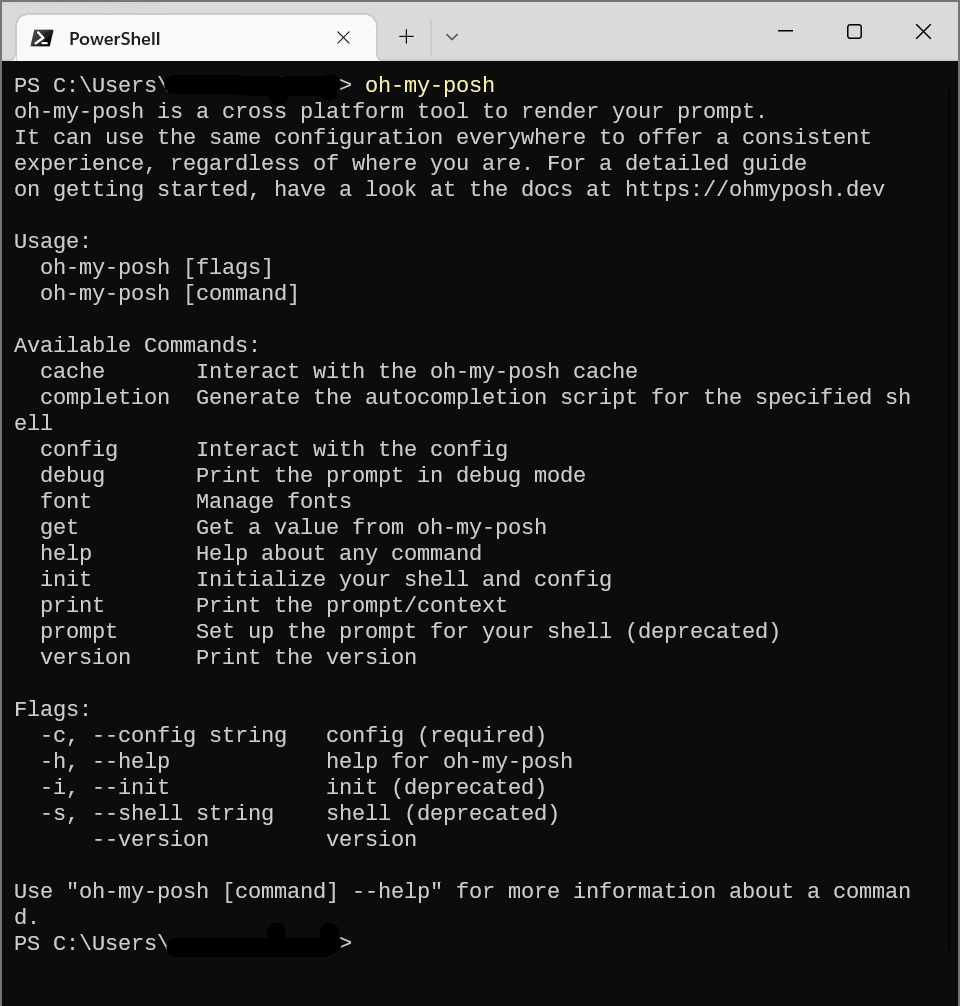
Now run this below command to check.
oh-my-poshIf it’s installed successfully you’ll get like this,
Time to load themes 🙂
It has a lot of themes. Go to your environment variables there you can find where the themes are installed. You can get that path by running the below command in PowerShell.
$env:POSH_THEMES_PATHHow to set up a Theme?
For that, you’ve to initialize Oh-My-Posh in your PowerShell profile.
Just run $Profile in PowerShell then you’ll get the profile path.

Go to that path. If not exist create it on your own.
Usually, the path will be
C:\Usersusername\Documents\PowerShellNow, go to that path, create a text file and paste this below code and save it as Microsoft.PowerShell_profile.ps1 as we saw when running the $Profile command.
oh-my-posh.exe init pwsh --config "$env:POSH_THEMES_PATHsonicboom_light.omp.json" | Invoke-ExpressionHere, I used sonicboom_light.omp.json in the above command. That’s the theme name I like. You can set whatever theme you want.
Now, time to install Nerd Font. Themes are loaded with Nerd Fonts only. So, you’ve to use those fonts in your terminal. For that go here, download any font you like, and install the same on your PC. I’m using Cousine NF font.
Then choose the font in your Windows Terminal. Go to Windows Terminal Settings -> Profiles -> PowerShell -> Select Appearance -> Font Face. There you need to choose the Nerd Font you’ve installed.
Just close and open the Windows Terminal. Now you can see the Oh-My-Posh theme.

There you go : )
How to change themes?
First, check all the themes and choose what you like. For that just run this below command in your PowerShell and you’ll get all themes with its name.
Get-PoshThemesAfter choosing the theme go to the theme path ($env:POSH_THEMES_PATH) and copy the theme name with the extension.
We’ve set the script in Microsoft.PowerShell_profile.ps1. Open that file and replace the theme name like below,
If you like the theme blueish it should be like the below,
As is,
oh-my-posh.exe init pwsh --config "$env:POSH_THEMES_PATHsonicboom_light.omp.json" | Invoke-ExpressionTo be,
oh-my-posh.exe init pwsh --config "$env:POSH_THEMES_PATHblueish.omp.json" | Invoke-Expression

I hope this blog will help you to configure Window Terminal (PowerShell) with Oh My Posh.
Please provide your feedback via comments.