
How to Reduce/Compress Photo Size? Simplified
Reduce/Compress Photo Size
Hello guys, in this blog I showed how to reduce/compress the photo size without losing the quality of the photo.
Step 1: Checking photo size.
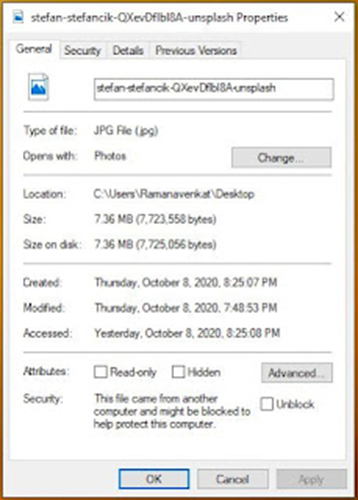
The size of the photo is 7.36 MB. Now we are going to reduce that.
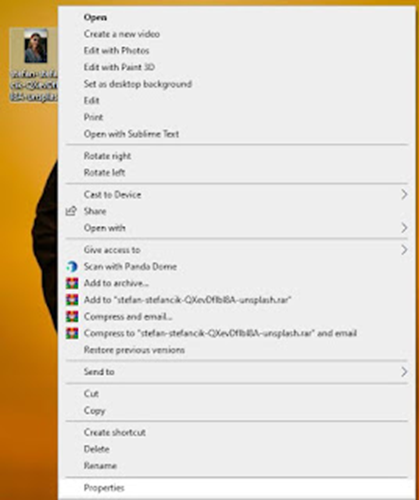
Step 2:
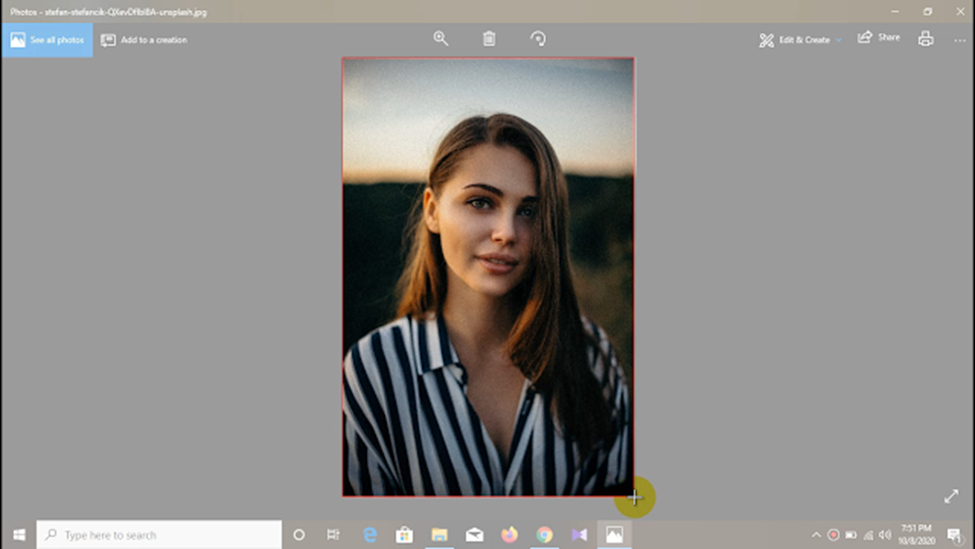
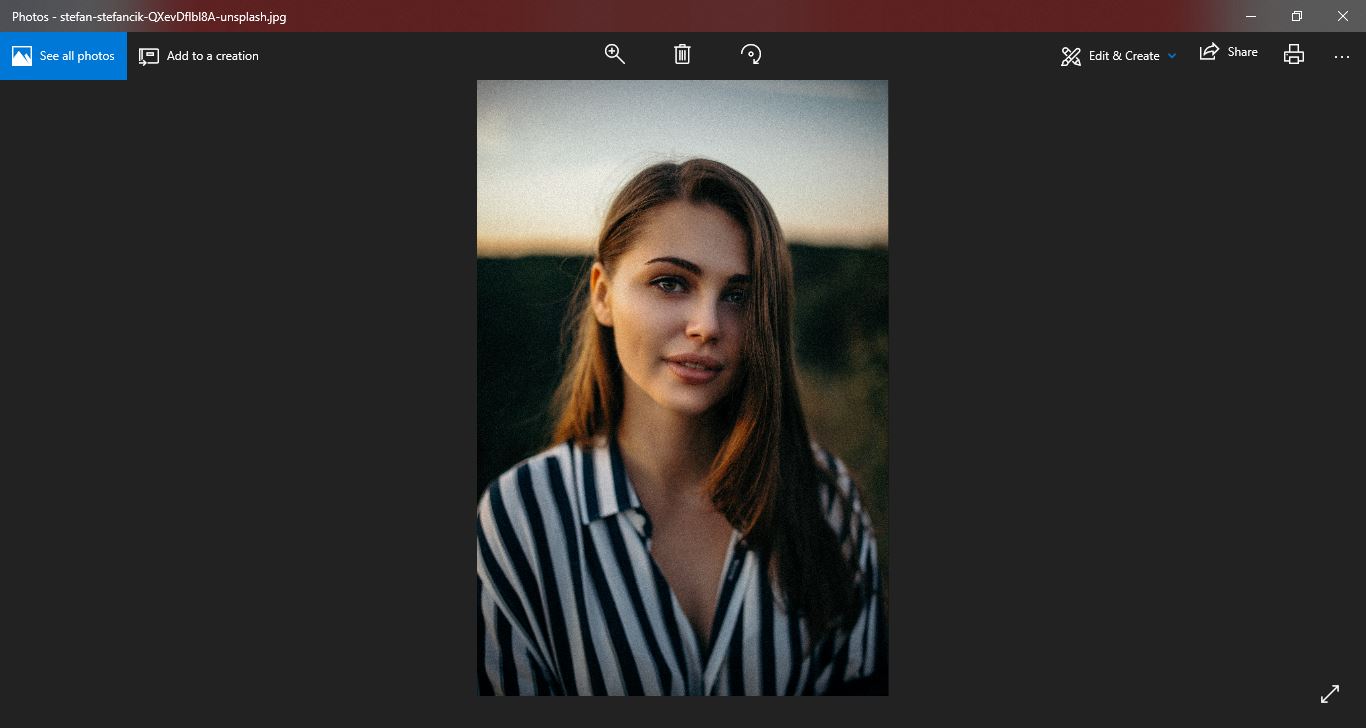
Open the Photo.

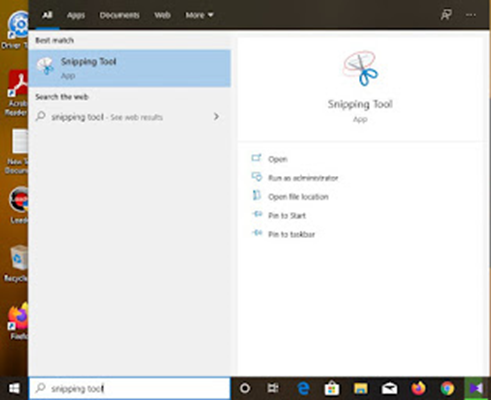
Step 3:
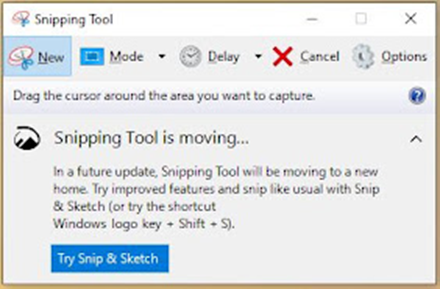
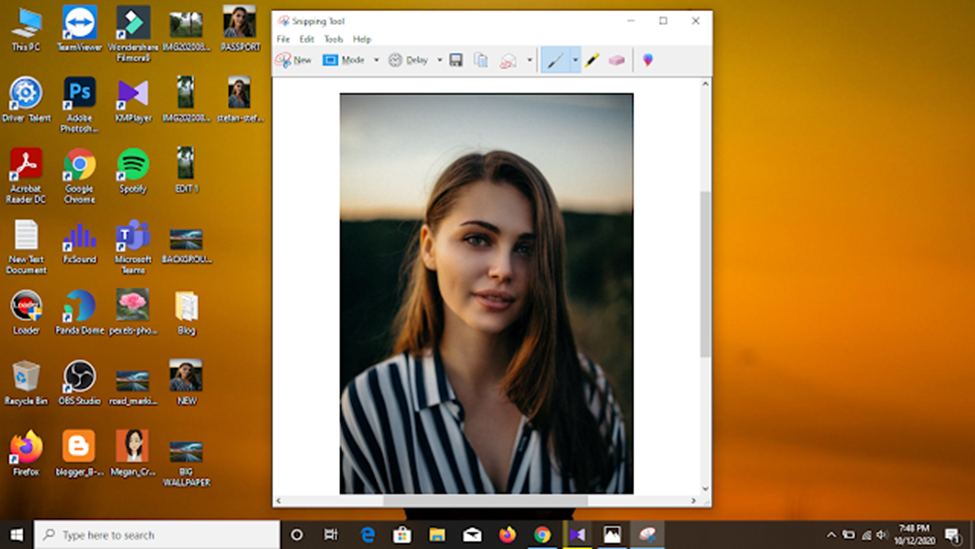
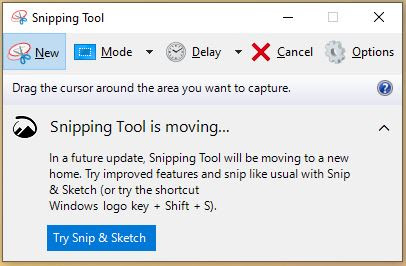
Now open the Snipping tool
Step 4:
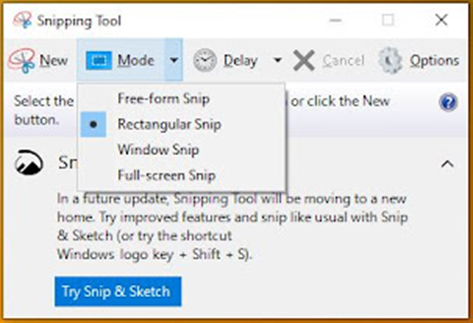
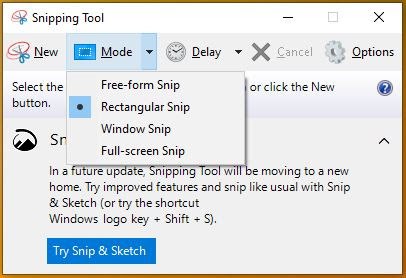
Select Mode-> Rectangular Snip then Click New

Step 5:
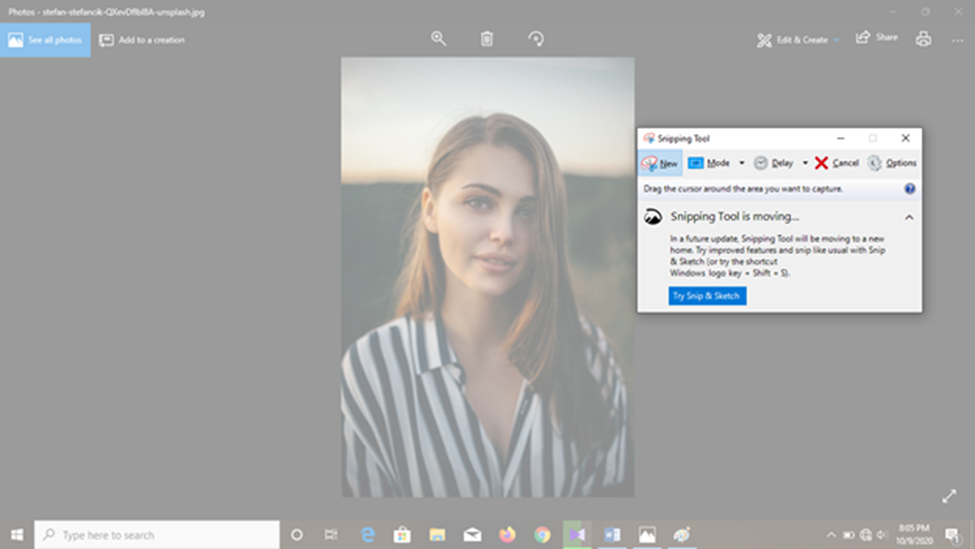
After Clicking New you will see the rest of the areas are blur. Now we can Compress/Resize the image by snipping.
Note: The photo should be open, and it should be back of the Snipping Tool
Step 6:
Now click from the top-left of the photo to end of the photo bottom right (Select the area you want – Photo)
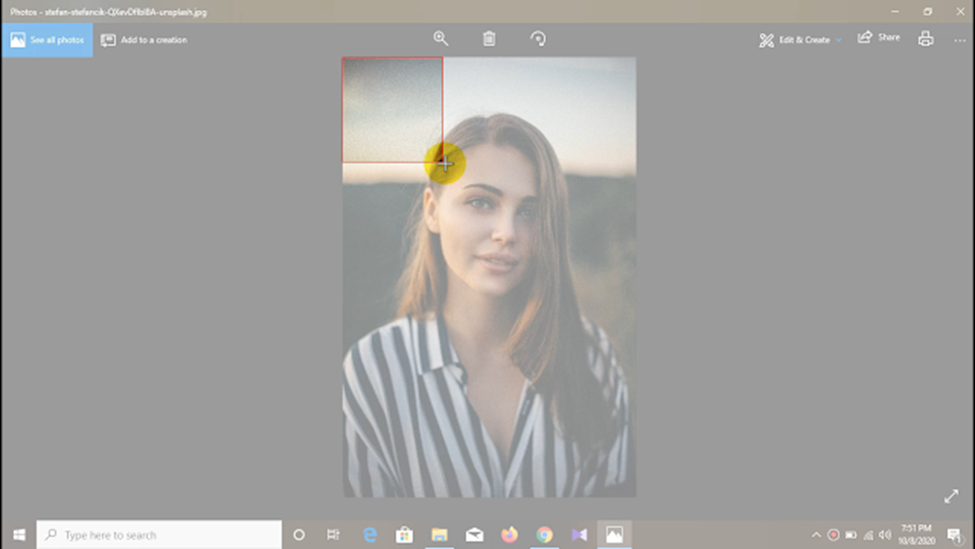
Note: While doing this the Snipping tool will disappear and then appear again.
Step 7:
Now you will see this screen.
Step 8:
Now Save that photo by clickingthe Save icon.
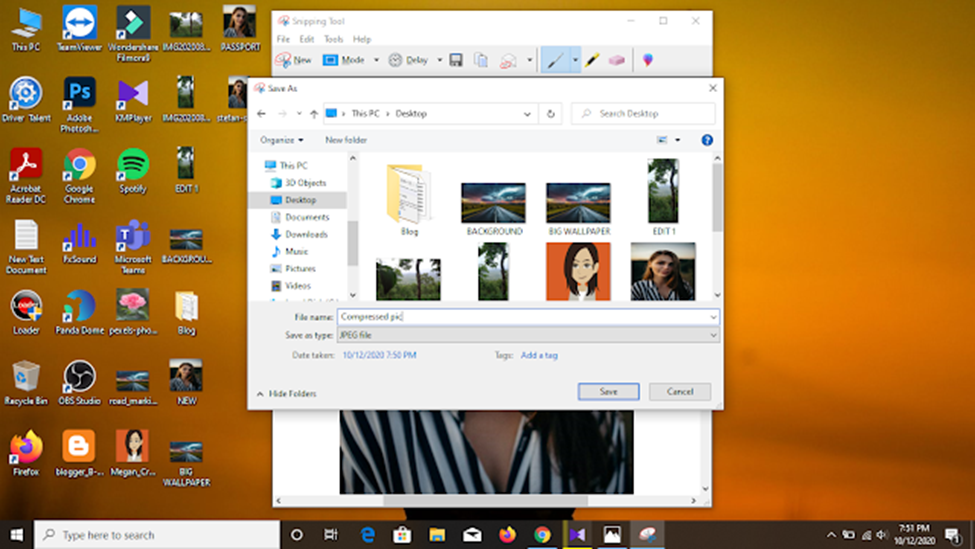
After that Close the Snipping Tool.
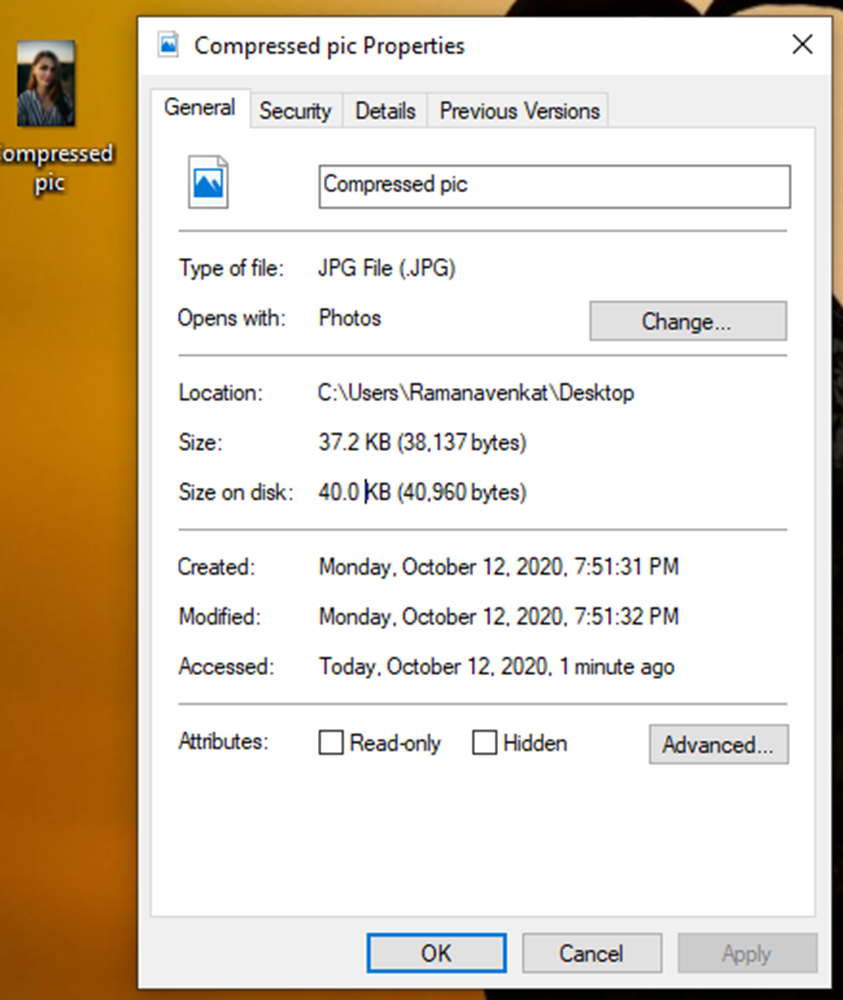
Step 9:
Now Check the File size.
The Size of the File is just 37 KB. We converted 7 MB to 37 KB.
Step 10:
Compare both the Photos. Original and snipped one using Snipping Tool.
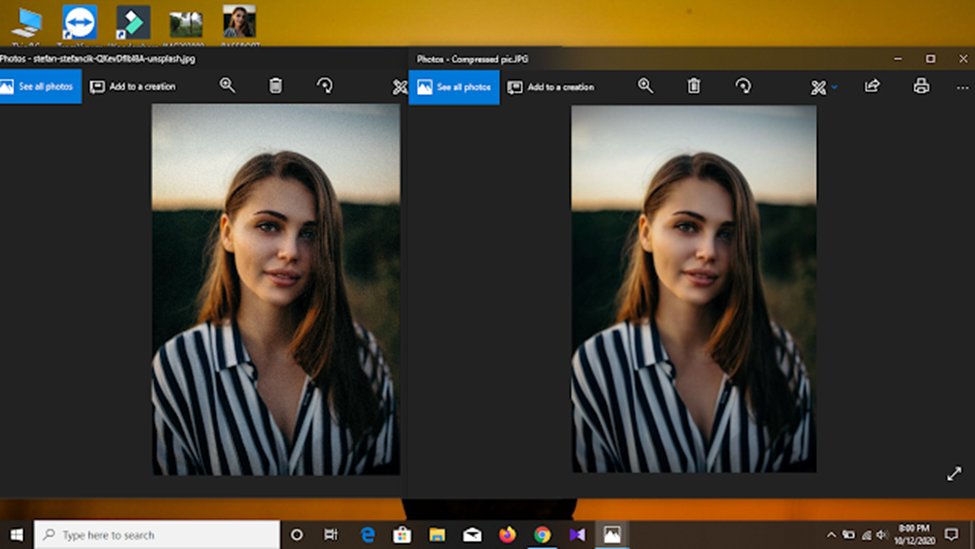
That’s it. We reduced/compressed the photo using the Snipping Tool.
Thanks for reading my blog. If it is useful for you then please comment below.


