How to install WSL on your Windows 10 Manually
Hello guys… Welcome to Info Technicians…
Obviously, I like Ubuntu and I was using that.
But the problem is my wifi card. Ubuntu doesn’t recognize my WiFi card or some other problem with my wifi.
Each and every time I need to connect my phone by using the cable and turn on USB tethering.
It is a really irritating moment while I’m going to use Ubuntu.
That’s why I switched to WSL(Windows Subsystem for Linux)
In Windows, my WiFi is working perfectly.
Now we will see about how to install WSL in your Windows 10.
Let’s get started…
-We are going to install WSL manually–
Step 1: Enable the Windows Subsystem for Linux
In this step, we are going to turn on the Windows Feature only.
For this, we need to run a command in Powershell with Administrator access(important).
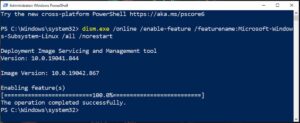
dism.exe /online /enable-feature /featurename:Microsoft-Windows-Subsystem-Linux /all /norestart
Just copy the above line and paste it in PowerShell. Then press Enter
It will be like this 👇
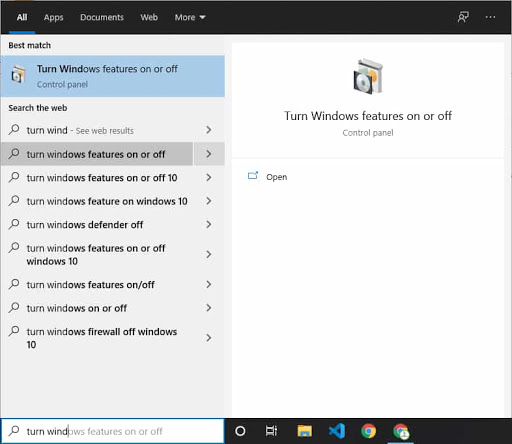
Or do this(I recommend doing this):
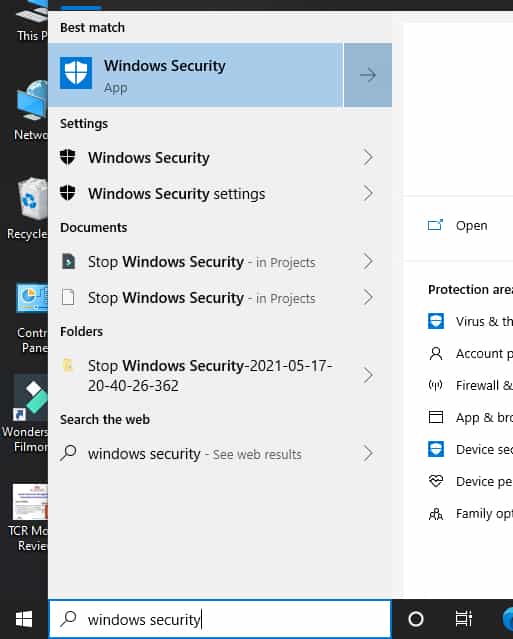
- Search for Turn Windows features on or off.
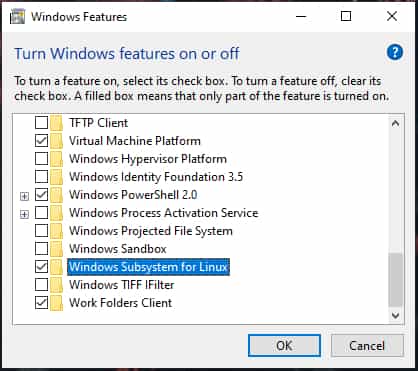
- Find Windows Subsystem for Linux and Check it.
- Click Ok and then it will ask for Restart.
Click Restart now and then your system will restart
Then go for Step 2.
Step 2: Check the Requirements for running WSL 2.
Yes. There are 2 versions are there. WSL 1 and WSL 2.
We are going to install WSL 2 only(the latest version).
The Specifications to Install WSL 2 is below,
- For x64 systems: Version 1903 or higher, with Build 18362 or higher.
- For ARM64 systems: Version 2004 or higher, with Build 19041 or higher.
systeminfo | find “System Type
It will be like this 👇
Now, how you can check the Version?
It’s so simple just press Windows+R to open ‘Run’ then type ‘winver‘ in that. Then press Enter.
In this case, my windows 10 version is 20H2 and OS Build is 19042.867
You may find something like this Version 1909 or 2004 like that. Then there’s no problem with that.
My Windows 10 meets the required specifications. If your Windows 10 doesn’t meet the specification then you need to update your Windows 10.
Step 3: Enable the Virtual Machine Feature
In this step, we are going to enable the virtual machine feature.
dism.exe /online /enable-feature /featurename:VirtualMachinePlatform /all /norestart
Copy and Paste the above line in PowerShell with Admin access. Then press Enter.
It will be like this 👇
Then Restart your PC/Laptop to complete the install of WSL and update it to Version 2. I mean WSL 2.
Step 4: Download the Linux Kernal Update Package
By pressing the below button you can download the package and install it on your machine.
Step 5: Set WSL 2 as Default Version
In this step we are setting WSL 2 as our Default Version
wsl –set-default-version 2
Just Copy and Paste the above line in Power Shell then Press Enter.
Step 6: Install Your Favorite Linux Distribution
I like Ubuntu 20.04 LTS version.
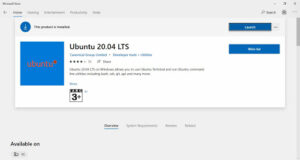
So we need to download that from Microsoft Store.
Search for Ubuntu 20.04LTS and install it.
After installing just Launch it.
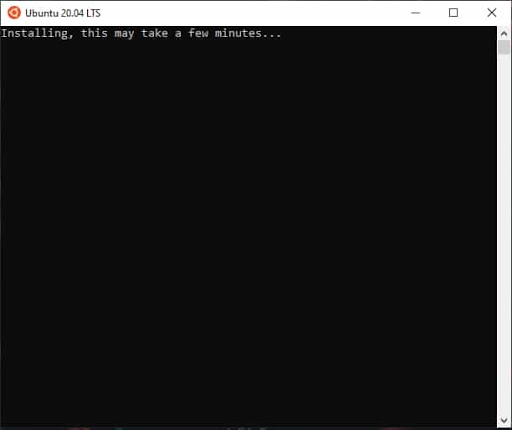
Now it will open and install(it may take few minutes to install)
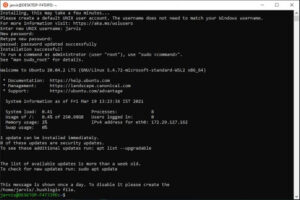
Then it asks for a Username and Password. And type the username and password.
(while typing password you can’t see any characters but it will work/recognize)
After that, you can use the Linux ☺️😃
Every time you’re logging in to your system just you need to open your Linux and use it.
In my case Ubuntu 20.04 LTS.
Enjoy the Linux in Windows 10 🙂
Thanks for reading this blog guys…
If it works or any doubts regarding this please comment below.


